فروردین 28, 1403 5:07 ب.ظ

ایران سرویس

خیابان بهبودی، نرسیده به نصرت، جنب بانک سپه، پلاک 145،ساختمان بنیامین،طبقه 5 واحد 18
دفتر مرکزی: 66097851  مرکز تعمیرات: 66097859  شعبه شرق: 77978135  شعبه هفت تیر: 88836102  شعبه جنوب: 55300568   شعبه غرب: 44153186   شعبه شمال 26721443   شعبه اسلامشهر و رباط کریم: 56746602

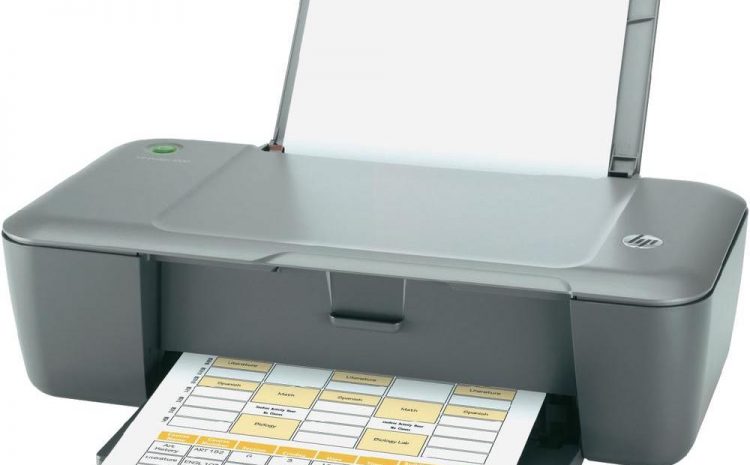
 تعویض پورت های دوشاخه Deskjet 1000 J110a اچ پی
تعویض پورت های دوشاخه Deskjet 1000 J110a اچ پی

مرحله 1 تعویض پورت – برداشتن کاور

  • دو پیچ 13 میلیمتری واقع در پشت پرینتر را با استفاده از پیچ گوشتی تروکس T10 (ستاره ای شکل) بردارید.

Remove the two 13 mm screws located on the back of the printer using a screwdriver with the T10 torx bit (star-shaped).Remove the two 13 mm screws located on the back of the printer using a screwdriver with the T10 torx bit (star-shaped).Remove the two 13 mm screws located on the back of the printer using a screwdriver with the T10 torx bit (star-shaped).

مرحله 2

  • در جلوی پرینتر، سینی را باز کنید که در آنجا کاغذ بیرون آمده و سپس دو پیچ 13 میلیمتری واقع در قسمت زیر و بالای پرینتر را بردارید.

In the front of the printer, open the tray where the paper comes out and remove the two 13 mm screws located under the top of the printer.In the front of the printer, open the tray where the paper comes out and remove the two 13 mm screws located under the top of the printer.In the front of the printer, open the tray where the paper comes out and remove the two 13 mm screws located under the top of the printer.

مرحله 3

  • جلوی پرینتر را به سمت بالا قرار داده، سمت چپ پنل را بلند کنید (مانند باز کدن کتاب بصورت معکوس)، تا اینکه از گیره سمت راست پنل قطع شود.

With the front of the printer facing you, lift and raise the left side of the panel (like opening a book in reverse) until it disconnects from the clip on the right side of the panel.

مرحله 4- پورت های دوشاخه

  • دو کانکتور نواری فلت را بردارید که برد مدار را به سایر قطعات پرینتر متصل کرده است.

هر کانکتور را با موچین بردارید اگر که برداشتن آنها با دست دشوار می باشد.

Remove each connector using tweezers if it is too difficult to remove them by hand.Remove each connector using tweezers if it is too difficult to remove them by hand.Remove each connector using tweezers if it is too difficult to remove them by hand.

مرحله 5

  • 3 کانکتور سیم چندرنگ را بردارید که برد مدار را به سایر قطعات پرینتر متصل کرده است.

هر کانکتور را با موچین بردارید اگر که برداشتن آنها با دست دشوار می باشد.

Locate and remove the three multicolored wire connectors which connect the circuit board to the other printer components.Remove each connector by hand, as shown. You can use tweezers if it is too difficult to remove them by hand.

مرحله 6

  • دو پیچ 13 میلیمتری واقع در بالا را با پیچ گوشتی تروکس T10 بردارید.

Remove the top two 13mm screws using a screwdriver with the T10 torx bit.Remove the bottom 9mm screw using a screwdriver with the T10 torx bit, and remove the plug port circuit board.Remove the bottom 9mm screw using a screwdriver with the T10 torx bit, and remove the plug port circuit board.

مرتبط با پرینتر اچ پی: تعویض مادربرد Envy 7640 اچ پی

نمایندگی اچ پی در کرج

بخوانید  تعویض کارت وایرلس

پاسخ دهید

نشانی ایمیل شما منتشر نخواهد شد. بخش‌های موردنیاز علامت‌گذاری شده‌اند *