فروردین 30, 1403 11:52 ق.ظ

ایران سرویس

خیابان بهبودی، نرسیده به نصرت، جنب بانک سپه، پلاک 145،ساختمان بنیامین،طبقه 5 واحد 18
دفتر مرکزی: 66097851  مرکز تعمیرات: 66097859  شعبه شرق: 77978135  شعبه هفت تیر: 88836102  شعبه جنوب: 55300568   شعبه غرب: 44153186   شعبه شمال 26721443   شعبه اسلامشهر و رباط کریم: 56746602

 تعویض کارتریج جوهر Deskjet 6122 اچ پی
تعویض کارتریج جوهر Deskjet 6122 اچ پی

مرحله 1 تعویض کارتریج – کارتریج جوهر

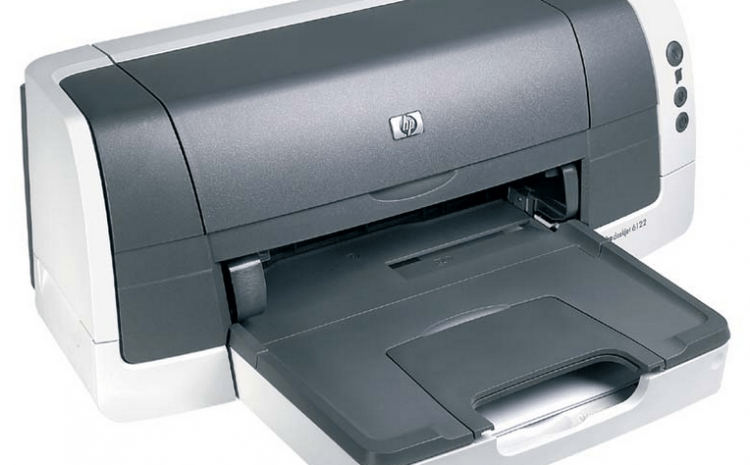
  • پرینتر را روشن کنید تا بررسی کنید که آیا دکمه پایین در سمت راست کامیپوتر سبز است یا خیر.

اگر این دکمه سبز بود، به کار ادامه دهید. اگر سبز نبود، راهنمای “روشن کردن پرینتر” را بررسی کنید.

Check to see if the printer is on by identifying whether or not the bottom button on the right face of the computer is green.  If button is green, proceed.  If not, check guide regarding "Turning on Printer."

مرحله 2

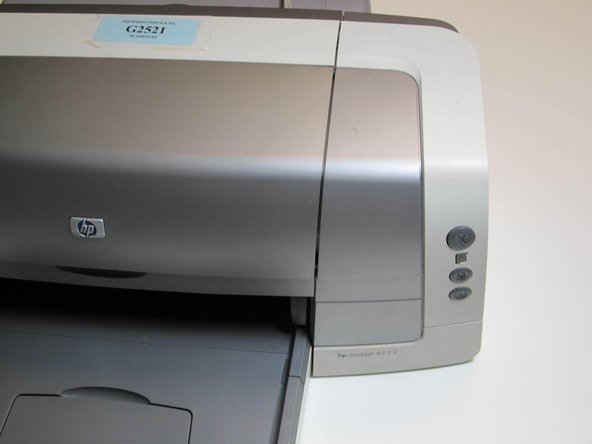
  • پنل جلو را به منظور دسترسی به داخل کامپیوتر باز کنید.

به محض این کار، پرینتر باید به حرکت کارتریج پرینت به سمت مرکز پاسخ دهد.
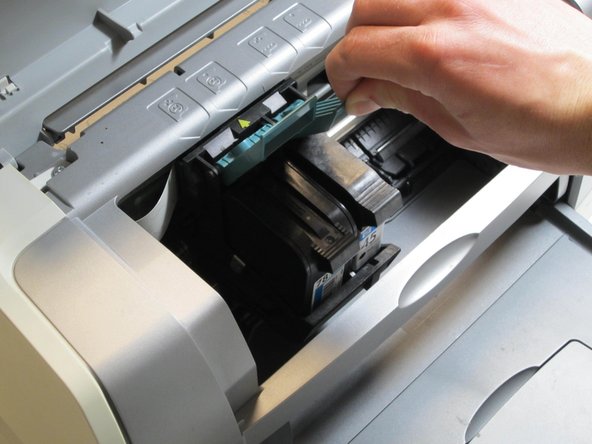
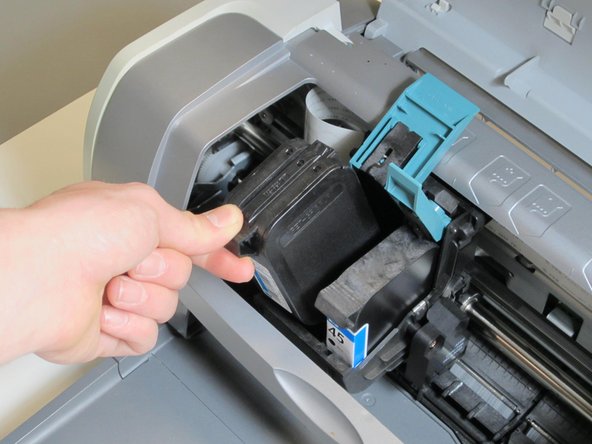
Lift open the front panel to gain access to the inside of the computer.  Upon doing this, the printer should respond by moving the print cartridges more toward the center.Lift open the front panel to gain access to the inside of the computer.  Upon doing this, the printer should respond by moving the print cartridges more toward the center.

مرحله 3

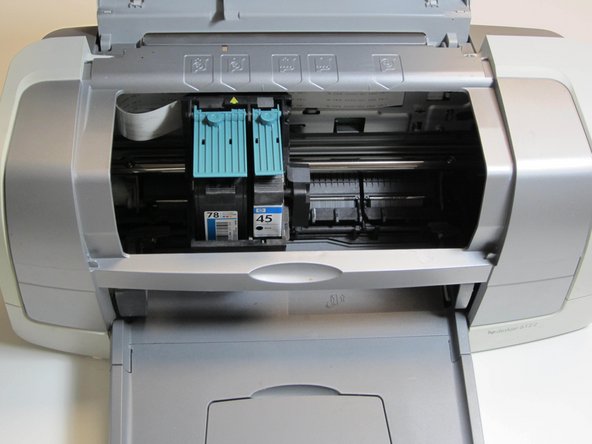
  • توجه کنید که کارتریج های جوهر در مرکز داخل پرینتر قرار دارند.

کارتریج بزرگتر در سمت چپ دارای جوهر رنگی بوده، و کارتریج نازکتر در سمت راست دارای جوهر مشکی است.

Notice the ink cartridges located in the center of the inside of the printer.  Note that the larger cartridge on the left holds the colored ink, and the thinner cartridge on the right holds the black ink.

مرحله 4

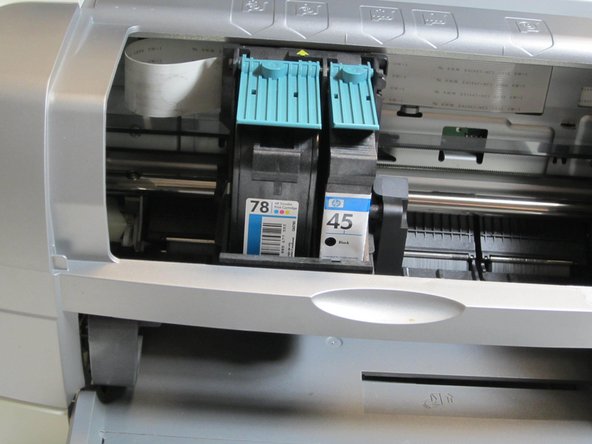
  • کارتریج جوهر رنگی را با بلند کردن کاور پلاستیکی بالای کارتریج بردارید. این مرحله را برای کارتریج جوهر مشکی نیز تکرار کنید. سپس قسمت برآمدگی بالای کارتریج را گرفته و کارتریج ها را به آرامی بیرون بکشید.
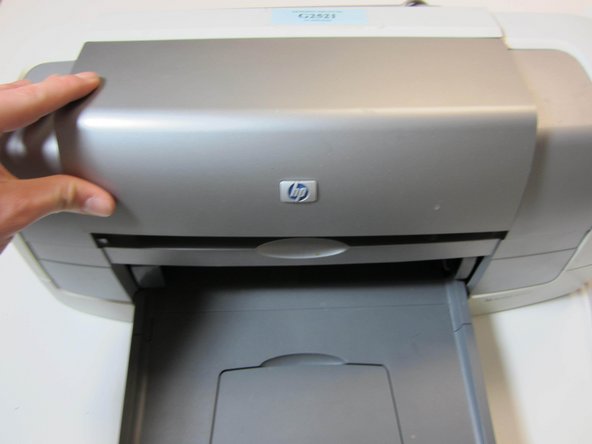
Remove the color ink cartridge by lifting back the teal plastic cover located on top of the cartridge.  Proceed by repeating this step from the black ink cartridge.  Then grab the pertruding part on the top of the cartridge, and lift cartridges gently out.Remove the color ink cartridge by lifting back the teal plastic cover located on top of the cartridge.  Proceed by repeating this step from the black ink cartridge.  Then grab the pertruding part on the top of the cartridge, and lift cartridges gently out.Remove the color ink cartridge by lifting back the teal plastic cover located on top of the cartridge.  Proceed by repeating this step from the black ink cartridge.  Then grab the pertruding part on the top of the cartridge, and lift cartridges gently out.

مرحله 5

  • نصب کارتریج های جدید با بستن پنل جلو تمام می شود. به محض این کار، پرینتر باید به حرکت کارتریج ها به سمت پشت که شروع شده اند واکنش دهد.

Finish installing new cartridges by shutting front panel.  Upon doing so, the printer should react by moving the cartridges back to where they started (not visible since panel is closed, just listen for it).

مرتبط: تعویض هد چاپ Envy 7640 اچ پی

نمایندگی اچ پی در تهران

بخوانید  تعویض کارتریج جوهر

پاسخ دهید

نشانی ایمیل شما منتشر نخواهد شد. بخش‌های موردنیاز علامت‌گذاری شده‌اند *